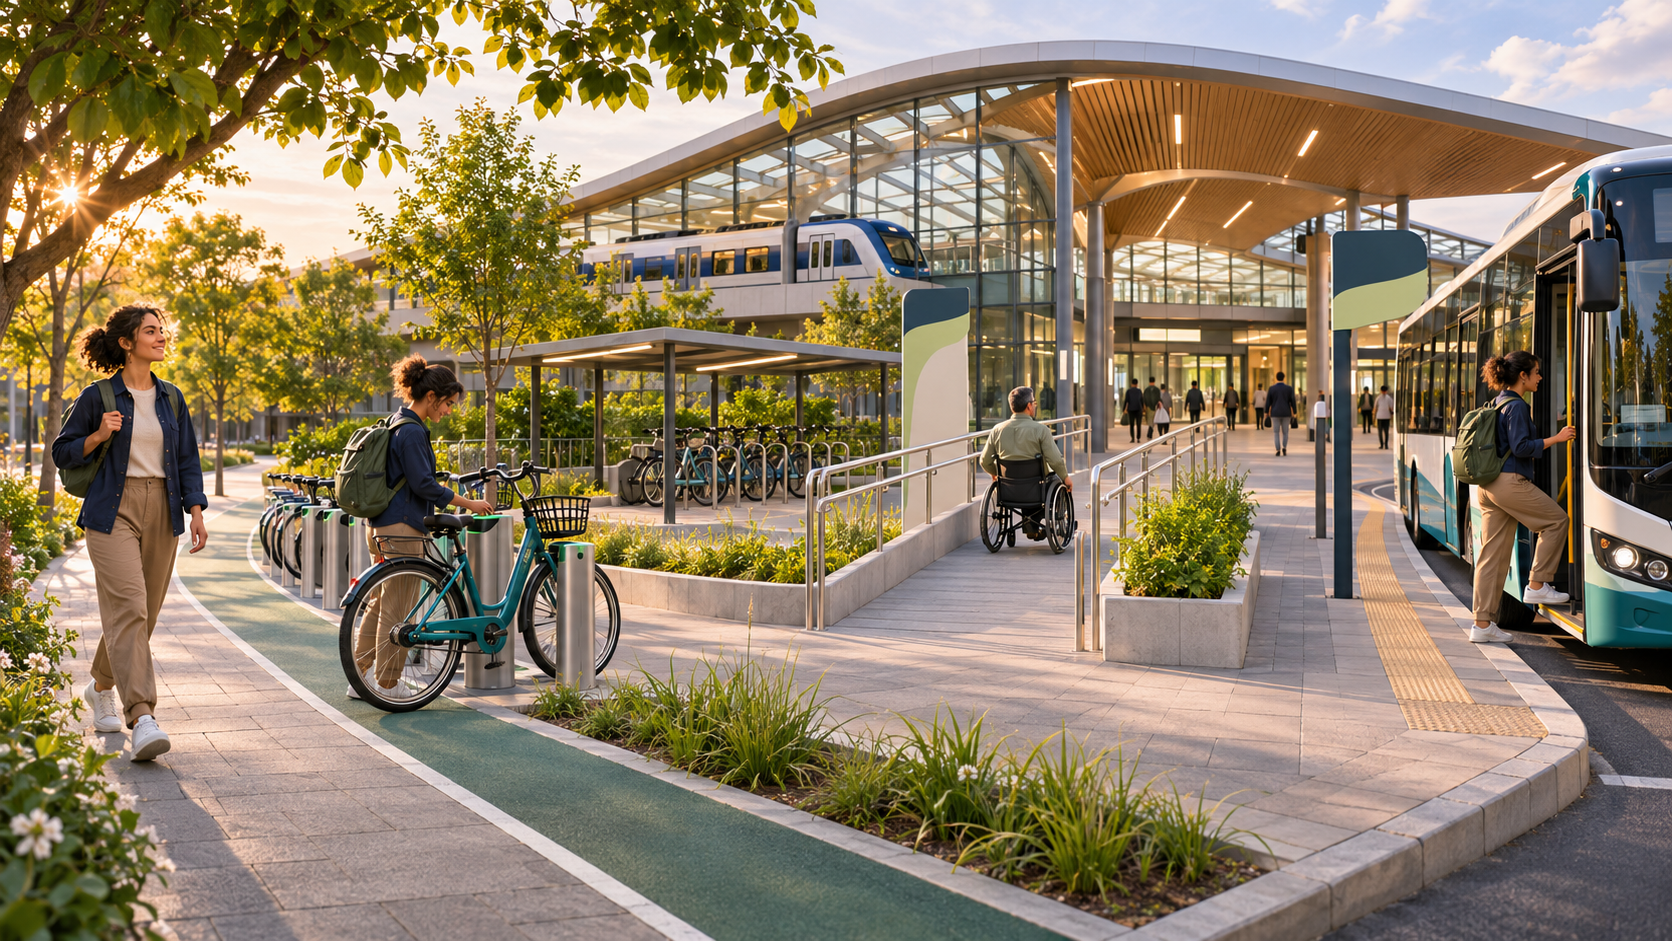
Quick answer: to plan a multimodal trip, map the entire journey from the exact starting point to the exact entrance at your destination. Choose the strongest main transit leg, compare realistic first- and last-mile options, verify every transfer, and include walking, waiting, parking, unlocking and boarding time. Check fare and vehicle rules, save an independent backup, then refresh live information before each major connection.
A multimodal trip uses two or more forms of transport in one door-to-door journey. It might combine a walk with a bus and train, a bicycle with rail, park-and-ride, a ferry connection, or an on-demand service feeding a high-capacity transit line. The route is only as reliable as its weakest connection.
What counts as a multimodal trip?
Every public transport journey is already partly multimodal because riders walk or wheel to a stop. The term becomes especially useful when the trip deliberately combines modes: cycling to a station, using rail across the congested part of a city, then taking a bus to the final destination.
Multimodal does not automatically mean complicated. One dependable train plus a short walk may beat three fast-looking vehicles with fragile transfers. The goal is not to maximize the number of modes; it is to use the best mode for each part of the journey.
European transport policy describes walking and cycling as important first- and last-mile connections to multimodal passenger hubs. Major journey planners likewise compare public transport, walking and cycling rather than treating the transit vehicle as the whole trip.
1. Start with exact door-to-door endpoints
Enter the real origin and destination, not only the nearest stations. A destination may have several entrances, and the closest one on a map may be closed, inaccessible or on the opposite side of a large complex. Include the building entrance, terminal, campus gate or venue access point you actually need.
Break the journey into stages:
- first mile from the origin;
- main transit leg or legs;
- each interchange;
- last mile to the destination; and
- the return trip.
Transport for London's planner lets riders compare public transport, walking and cycling, set walking limits, choose fewer changes and specify access needs. Transport for NSW similarly offers door-to-door planning with mode comparisons and real-time updates. Our step-by-step transit planning guide covers the fundamentals of directions, stops and arrival times.
2. List the constraints before comparing routes
The fastest result is not always usable. Set the conditions that matter before choosing:
- required arrival time and acceptable delay;
- maximum walking or wheeling distance;
- stairs, lifts and step-free access;
- bicycle, scooter, pram or luggage rules;
- weather and daylight;
- fare budget and payment methods;
- parking, docking or reservation availability;
- children or group needs; and
- the last service for the return.
Use planner filters carefully. A “least walking” route may add a transfer; a “fewest changes” route may require a longer outdoor segment. TfL's accessible journey tools allow riders to specify stairs, escalators, step-free access and walking tolerance. Compare the result against what you can safely and comfortably do.
3. Choose the strongest main leg first
Build around the part of the trip that covers the greatest distance or avoids the biggest bottleneck. This is often frequent rail, metro, bus rapid transit or ferry service. Then solve the shorter access legs around it.
A strong main leg has:
- useful frequency at the travel time;
- a station or stop near a practical connection;
- capacity for the expected demand;
- acceptable accessibility;
- clear real-time information; and
- a workable alternative if disrupted.
Do not choose a distant express train simply because its onboard time is shorter. Add the access journey, waiting, transfer and final walk. A slower local route can have a better total travel time and lower failure risk.
4. Compare first- and last-mile options
For each end of the main transit leg, compare walking or wheeling, a local bus, personal bicycle, bikeshare, scooter where legal, park-and-ride, pickup or on-demand transport. Use the option that remains practical at the actual time of travel.
Walking or wheeling
Check distance, gradient, crossings, lighting, surface and shelter. Singapore's Land Transport Authority emphasizes connections between homes and public transport, including sheltered walkways. A planner's straight line does not show every curb, stair or closed gate.
Cycling or shared micromobility
Check the route itself and what happens at the station. Is there a protected path, secure parking or a docking station with capacity? Can the bike travel onboard if needed? TransLink in Vancouver notes that bikes can speed up access to transit hubs but vehicle rules and available space still apply. Auckland Transport provides station parking and mode-specific rules.
Our guide to taking a bicycle on public transport explains how to verify peak restrictions, storage and boarding. Never assume a shared bike or scooter will be available for the return trip.
Park-and-ride or pickup
Include driving time, parking search, the walk from the space, payment and closing hours. A full lot can break the whole route. Review how park-and-ride works before relying on it for a time-critical journey.
5. Inspect every interchange on the map
A planner may call two services a transfer even when they use different buildings, street corners or fare areas. Open the station or stop map and verify:
- arrival platform and correct exit;
- walking or wheeling path;
- stairs, lifts and street crossings;
- whether a bike must be parked, folded or carried;
- the exact bus bay, ferry pier or pickup point;
- whether another fare validation is required; and
- indoor versus outdoor waiting.
WMATA's trip-planning guidance includes walking directions to stops and station entrances and can combine services from several regional operators. That level of detail matters: reaching the correct side of a divided road may take several extra minutes.
For general interchange technique, see how public transport transfers work.
6. Calculate total time, not vehicle time
Add every hidden component:
- walking, wheeling or cycling to the first mode;
- unlocking, parking or returning a shared vehicle;
- finding the platform or stop;
- expected waiting time;
- onboard time;
- each transfer walk;
- a reliability buffer; and
- the final entrance walk.
A ten-minute scheduled transfer is not a ten-minute buffer if unloading, a lift and a long corridor use eight minutes. Protect infrequent services and the last useful connection most. If one missed bus adds 30 minutes, an earlier train may be the rational choice.
Scheduled and live values are different; our guide to scheduled versus real-time arrivals explains how to read them.
7. Check mode and vehicle rules
Rules change across operators, vehicle types and time periods. Verify bicycles, folding scooters, e-bikes, luggage and mobility devices on every service—not only the main line. A bike accepted on a train may not fit a small feeder bus. A replacement vehicle may have different capacity.
WMATA buses use exterior bicycle racks with limited spaces, while TransLink and Auckland Transport publish separate conditions across bus, rail and ferry modes. Singapore applies size limits to bicycles and personal mobility devices on buses and trains. These are examples, not universal rules.
Have a fallback if capacity is not guaranteed: park the bike, take the next service, use a folding model where permitted or choose a different access mode.
8. Price the complete journey
A multimodal planner may combine services without combining their fares. Check whether transfers are discounted, whether the same card works across operators and whether shared mobility, parking or reservations cost extra.
Calculate:
- transit fare for every operator;
- transfer or zone rules;
- bikeshare or scooter unlock and time charges;
- parking or bike-locker fees;
- booking or premium-service charges; and
- the return journey.
Use the same bank card or device when a fare system requires it to recognize transfers or caps. Our public transport payment guide covers cards, apps, cash and proof of payment.
9. Test the route for reliability
Ask what happens when each stage is late or unavailable. A route with four tightly timed stages may be faster on paper and worse in practice than a route with one frequent trunk service.
Prefer connections with:
- frequent onward service;
- several nearby alternatives;
- real-time information;
- safe, sheltered waiting;
- enough transfer time; and
- no single scarce bike, parking space or pickup vehicle.
Save a backup that avoids the same weak point. A second bus using the same congested bridge is not independent. If the main route fails, use the decision process in what to do when public transport is disrupted.
10. Plan accessibility door to door
An accessible train does not make the whole multimodal trip accessible. Verify curb ramps, path surfaces, lift status, platform gaps, accessible vehicle spaces, transfer distances and the final entrance. Confirm that any on-demand or shared service can carry the required mobility device.
Use official accessibility filters, but also check current alerts. TfL notes that step-free suggestions can adapt to line and lift closures. Allow time for the accessible route through a station, which may differ from the shortest walking path.
Our accessible journey checklist helps verify each leg without treating accessibility as a single checkbox.
11. Adjust for luggage, crowds, weather and darkness
The best mode combination changes with conditions. A cycling connection may be practical in daylight and unsuitable during a storm. A short transfer can become difficult with a pram, suitcase or event crowd.
- Choose fewer transfers when carrying bulky items.
- Avoid relying on vehicle bike capacity at the busiest time.
- Use sheltered or step-free routes when conditions require them.
- Check lighting and personal safety for the return.
- Keep all items manageable during quick boarding.
See our guides to public transport with luggage, rush-hour travel and public transport in bad weather for situation-specific checks.
12. Save the plan in an actionable format
Do not save only a screenshot of the route overview. Keep the details needed at each decision point:
- line, route and direction;
- boarding stop and correct entrance;
- transfer path or station map;
- bike parking or shared-mobility location;
- fare and booking confirmation;
- last useful departure;
- backup route; and
- operator alert pages.
Make key details available offline in case mobile data is weak. A screenshot is a reference, not a live status source; refresh official information before departure and before a fragile transfer.
13. Recheck and adapt while traveling
On the day, check the weather, transit alerts, lift status and availability for shared vehicles or parking. During the trip, watch the connection that controls everything after it. If the main train is late, calculate whether the feeder still works before reaching the interchange.
Do not rush across roads, platforms or station barriers to preserve an itinerary. Let the plan change. A safe later connection is better than an unsafe shortcut. Use staff, official apps and posted wayfinding when they differ from an old route screenshot.
14. Improve a route you use regularly
For a commute or recurring trip, test one variable at a time. Try a different access station, an earlier frequent service, secure bike parking or a route with fewer failure points. Record actual door-to-door time rather than remembering only the best day.
Keep two versions: a normal route and a bad-weather or disruption route. Check whether a monthly transit product, bike locker or parking arrangement changes the cost. A slightly slower route that works consistently can be the best long-term choice.
Multimodal trip-planning checklist
- Exact origin and destination entrance entered
- Personal constraints and access needs set
- Main transit leg chosen for frequency and reliability
- First- and last-mile options compared
- Every transfer path inspected
- Walking, waiting, parking and unlocking time included
- Bike, scooter, luggage and vehicle rules verified
- Complete fare and payment method checked
- Accessible path and lift status confirmed
- Weather, crowds and return conditions reviewed
- Independent backup saved
- Key details stored offline
- Live alerts refreshed before travel
Frequently asked questions
What is a multimodal trip?
It is one door-to-door journey using two or more forms of transport, such as walking, cycling, bus, rail, ferry, driving or shared mobility.
Is a multimodal route always faster?
No. It can improve access or bypass congestion, but transfers, parking, unlocking and waiting may erase the time saved. Compare total door-to-door time and reliability.
How much transfer time should I add?
Add the real movement time through the interchange plus a buffer based on frequency and consequence. Protect an infrequent or final connection more than a service running every few minutes.
Can one app book and pay for every mode?
Sometimes, but not universally. A planner may display several operators without integrating their tickets, reservations or shared-mobility charges. Verify each provider before travel.
What is the best backup for a multimodal trip?
Choose a route that avoids the main plan's weakest point, such as a different station, corridor or first-mile mode, and confirm that it works at the actual travel time.
The practical takeaway
A good multimodal plan is not a chain of individually fast legs. It is one coherent door-to-door journey with usable transfers, compatible rules, realistic time and a reliable return. Build around a strong main service, solve both ends, inspect every connection and keep an independent backup. That is how multiple modes become simpler rather than more fragile.
Official sources and further reading
- European Commission: active mobility and multimodal connections
- Transport for London: journey planner
- Transport for London: TfL Go multimode features
- Transport for London: accessible journey planning
- Transport for NSW: transport apps and door-to-door planning
- Transport for NSW: how to use Trip Planner
- WMATA: planning a whole regional trip
- WMATA: bicycles on buses
- TransLink Vancouver: combining bikes and transit
- Auckland Transport: bikes and public transport
- Singapore LTA: plan your journey
- Singapore LTA: walking connections to public transport