Quick answer: to plan an accessible public transport journey, map the entire trip from your starting door to your destination—not just the time spent on a bus or train. Confirm accessible entrances, lifts, platform-to-vehicle boarding, transfer paths, assistance rules, mobility-aid limits, toilets and the final street segment. Then check live disruption information immediately before leaving and keep one workable backup route.
An accessibility icon in a journey planner is useful, but it is not a guarantee that every link in the trip will work for every traveler. A station may be step-free from street to platform but still require a ramp to board. A low-floor bus may serve a stop whose pavement is difficult to reach. A route with fewer minutes may include a stressful, poorly signed transfer. The safest plan treats accessibility as a chain: if one essential link fails, the journey may fail.
This guide offers a worldwide method you can adapt to buses, metros, trams, ferries and trains. Local facilities, assistance programs and legal rights vary, so use the checklist alongside the official operator information for the place where you are traveling.
1. Define what “accessible” means for this journey
Start with requirements, not routes. “Accessible” can mean step-free movement for a wheelchair user, minimal walking for someone with limited stamina, reliable audio information for a blind traveler, visual alerts for a Deaf passenger, quiet and predictable transfers for a neurodivergent traveler, or enough time and space for an older adult, a temporary injury, luggage or a stroller.
Write down the conditions that are essential rather than merely preferable. A useful short list might include:
- step-free access from street to vehicle;
- a maximum walking or wheeling distance;
- no stairs, escalators or steep slopes;
- a level boarding point or staff-operated ramp;
- working lifts at every interchange;
- accessible toilets at a specific stage of the trip;
- audio, visual or tactile wayfinding;
- space for a wheelchair, scooter, walker or assistance animal;
- the fewest possible transfers; or
- a staffed station or pre-booked assistance.
Be precise about the mobility aid, too. Length, width, weight, turning radius and battery type can affect whether a vehicle, lift or boarding ramp is suitable. Transport for New South Wales, for example, tells wheelchair and scooter users to check the network’s mobility-aid specifications. That is a good habit anywhere: consult the operator rather than assuming every device that works on one network will fit another.
2. Map the whole journey, including the first and last mile
Break the trip into segments before choosing a departure:
- from the starting door to the first stop or station;
- entry into the transport system;
- boarding the first vehicle;
- each interchange and its internal route;
- boarding and leaving subsequent vehicles;
- the final stop or station exit; and
- the path from that exit to the destination door.
This “whole journey” approach is also used in official accessibility planning. Australia’s Department of Infrastructure describes accessibility across pre-journey planning, the journey start and end, stops or terminals, boarding, the onboard experience and interchanges. It is a better mental model than asking only whether a rail station or vehicle is accessible.
Inspect the street segments on a map or satellite view where available. Look for steep gradients, missing curb ramps, construction, rough surfaces, pedestrian bridges, underpasses and wide roads without suitable crossings. Check which station entrance you need: two entrances with the same station name may have completely different access. At the destination, confirm that the building’s accessible entrance is actually on the side where your route arrives.
If you are new to multimodal planning, use the sequence in our step-by-step public transportation trip guide, then add the accessibility checks in this article to every segment.
3. Use accessibility filters—but verify the result
Many official journey planners can filter for step-free stations, accessible vehicles, fewer transfers or less walking. These settings are an efficient first pass. Transport for London lets riders specify whether they can use stairs or escalators and choose preferences such as fewer changes or less walking. Transport for New South Wales can filter results to accessible vehicles and stops while accounting for known lift or escalator outages.
After filtering, open the detail page for every stop, station and mode. Do not rely only on the route overview. Verify:
- Street-to-platform access: Is the correct entrance step-free, and is it open at your travel time?
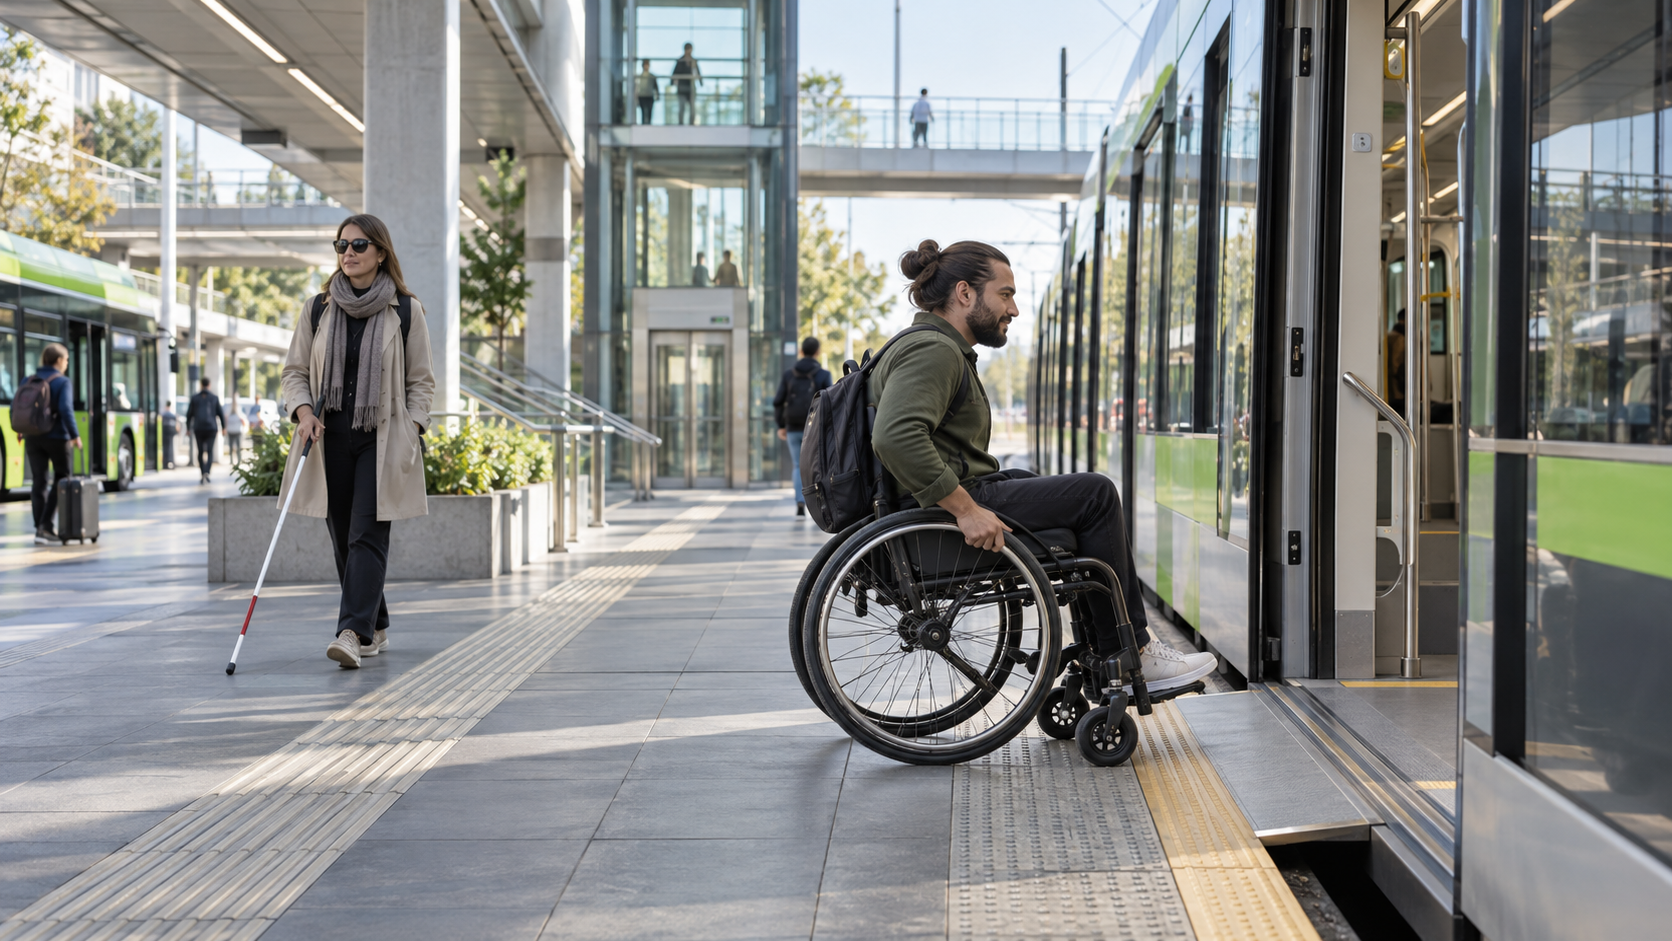
- Platform-to-vehicle access: Is boarding level, or is a bridge plate, portable ramp or staff member needed?
- Transfer path: Does the accessible interchange follow the same path and take the same time as the standard transfer?
- Vehicle accessibility: Are all departures accessible, or only selected vehicles?
- Exit choice: Which exit avoids stairs and leads to a usable pedestrian route?
- Operating hours: Are lifts, staffed assistance desks and accessible gates available when you arrive?
“Step-free” can describe different things. Some planners distinguish step-free access to the platform from level access onto the train. TfL’s step-free information, for instance, can identify platform gaps, manual ramps and level boarding points. Read the legend and definitions used by each network instead of treating the wheelchair symbol as universal.
4. Check lifts, disruptions and vehicle changes twice
A route that was accessible when you planned it may not be accessible when you travel. Lifts go out of service, platforms change, replacement buses appear during engineering work, and an accessible vehicle can be substituted. Check the operator’s status page once when choosing the route and again shortly before departure.
For every essential lift or facility, record the station name and the lift’s role. “Lift 2” is less useful than “street to concourse at the north entrance.” If the operator provides outage alerts, subscribe to them. If it does not, save the station contact details and allow time to confirm by phone or chat.
Create a backup that avoids the same point of failure. If both plans use the same lift, they are not genuinely independent. A robust alternative might use another station, a bus instead of rail, a different interchange, or an accessible taxi for one segment. Where no reasonable backup exists, identify the staffed location where you can request help.
5. Give transfers a realistic accessibility buffer
Standard connection times often assume a direct walking route. An accessible transfer may require a longer path, a different lift bank, staff assistance or waiting for a ramp. Add time for finding the correct entrance, reaching an accessible gate, boarding safely and recovering between segments.
There is no universal buffer that suits every traveler or network. As a starting point, inspect the published interchange time and add enough margin for the exact barriers you identified. A transfer through a familiar, compact station may need only a modest buffer. An unfamiliar terminal with multiple levels, a platform change and booked assistance may need much more.
Prefer a slightly longer route when it removes a fragile transfer. One direct accessible bus can be more dependable than a faster rail itinerary with two lifts and a short connection. When comparing options, rank them by successful arrival—not only scheduled duration.
6. Confirm assistance and passenger-rights rules locally
Assistance can include station navigation, boarding ramps, help with luggage related to a disability, or guidance through an interchange. Some systems provide turn-up-and-go help; others ask for advance notice, especially for intercity or international travel. Booking windows, contact channels, meeting points and eligibility rules differ by country and operator.
Ask these questions when assistance is essential:
- How far ahead should assistance be requested?
- Where exactly should I meet staff, and how early?
- Will the booking cover every operator and interchange?
- What happens if my first service is delayed?
- Is there a confirmation number or written itinerary?
- Who should I contact if staff are not present?
Rights are jurisdiction-specific. In the European Union, current rail rules include protections for passengers with disabilities or reduced mobility and generally shorten advance notice for assistance to 24 hours, subject to limited national transitional arrangements and service scope. In the United States, the Federal Transit Administration explains that the Americans with Disabilities Act requires equal opportunity and access in public transit. These are useful examples, not worldwide rules. Always check the official authority and operator for the journey you are taking.
Assistance-animal definitions and documentation rules also vary. Do not assume that a card, vest or rule recognized at home will be treated the same way abroad. For cross-border travel, verify transport, entry, vaccination and accommodation requirements well before departure.
7. Prepare for boarding, fares and onboard needs
Knowing the boarding procedure reduces pressure at the platform or stop. Find out whether you must signal the driver, wait at a marked boarding point, request a ramp, reverse into a wheelchair space, transfer to a seat, or secure a mobility device. If only part of a platform provides level access, note the carriage position before the vehicle arrives.
Check the fare medium in advance. A ticket machine may be at an inaccessible entrance, a mobile ticket may require connectivity, and a contactless gate may be difficult to reach. Look for accessible gates, concession eligibility, companion policies and whether a reservation is required. Keep the ticket, assistance confirmation and relevant operator phone numbers available offline.
Pack for the consequences of delay without overloading yourself: medication, water, a charger or power bank, a compact repair item for a mobility aid if appropriate, hearing-device batteries, communication cards and a written destination address. Download essential maps or take screenshots. Store the backup route separately from the main itinerary.
8. Plan for sensory, cognitive and communication access
Accessible planning is broader than step-free routing. A traveler may need reliable visual announcements, audible stop information, high-contrast signage, tactile paths, a quieter interchange or a route with fewer decisions.
For visual access, check whether the network offers audio maps, tactile wayfinding, staffed help and audible vehicle announcements. For hearing access, look for visual departure boards, disruption notifications and text-based support. For cognitive access, reduce the number of transfers, save photos of entrances, write each step in plain language and choose staffed or familiar locations. For sensory needs, compare crowd levels and avoid peak periods when possible.
If an important instruction is available only through an announcement or display you may not be able to use, decide in advance how you will obtain the same information. That may mean enabling phone alerts, asking staff to notify you, traveling with a companion, or selecting a service with redundant audio and visual information.
9. Use AI and trip-planning apps as assistants, not authorities
An AI planner can help turn a complex request into route options, compare transfer counts and explain an itinerary in simpler language. Our guide to how an AI public transportation planner works explains how place identification, transit data and ranking fit together.
Accessibility data, however, can be incomplete, delayed or defined differently by each operator. Treat any planner—including SAYR—as a planning assistant. Confirm critical facts with the official transport operator, especially lift status, boarding arrangements, assistance bookings and mobility-aid restrictions. If a route depends on a single accessibility feature, verify that feature directly.
A reusable accessible-journey itinerary
Save the following details in one note that works offline:
- Origin: exact accessible departure point and path to the stop;
- First service: route, direction, accessible boarding point and fare method;
- Transfers: accessible path, lift locations, estimated time and assistance meeting point;
- Destination: correct step-free exit and final street route;
- Live checks: operator status links and alert subscriptions;
- Assistance: booking reference, meeting time and contact number;
- Backup: a route that avoids the main plan’s critical failure point; and
- Support: emergency contact and destination address.
Share the note with someone you trust if that is useful. For an unfamiliar route, consider a practice trip at a quiet time or contact the operator for travel training. On the day, leave enough time to travel without rushing, but avoid arriving so early that facilities or staff are unavailable.
Day-of-travel checklist
- Check service alerts, lift status, weather and street disruptions.
- Confirm assistance and the meeting point.
- Open or download tickets, maps and the backup route.
- Charge your phone and any essential device.
- Confirm that the destination’s accessible entrance will be open.
- Allow the transfer buffer you planned.
- Ask staff early if the platform, vehicle or boarding arrangement changes.
Frequently asked questions
What makes a public transport journey accessible?
An accessible journey meets the traveler’s needs from the starting door to the destination door. That can include suitable sidewalks, step-free station access, usable boarding, accessible vehicles, manageable transfers, clear information, assistance and a workable last mile.
Does a wheelchair symbol guarantee a step-free trip?
No. It may describe a station, stop, vehicle or only one part of the route. Check street-to-platform access, platform-to-vehicle boarding, the precise entrance and exit, transfer paths and live lift status.
How much extra transfer time should I allow?
There is no universal amount. Base the buffer on the accessible path, number of lifts, station familiarity, crowds, boarding assistance and the consequences of missing the connection. Favor fewer, more reliable transfers when possible.
Do I need to book accessibility assistance?
It depends on the operator, mode and location. Some networks offer assistance without advance notice; others request booking, particularly for long-distance services. Verify the official rule and keep the confirmation details.
What should I do if a planner says the route is accessible but a lift is broken?
Check the operator’s live status and ask staff for an alternative. Use a backup route that avoids the failed lift or station. Report inaccurate accessibility information so the operator or planner can correct it.
The practical takeaway
The most reliable accessible public transport plan is specific, verified and resilient. Define your non-negotiable needs, inspect every segment, confirm local assistance rules, check live conditions and keep a truly independent backup. A good planner can organize the options; official operators must confirm the details that determine whether the journey works.